Using terrain awareness mode with DJI Phantom 4 RTK

To use the terrain awareness mode you first need a height model of the area where you will perform your flights. The height model (.tif and .tfw) needs to be in Sweref99TM + RH2000 for this guide (Download from maps.slu.se).

Set the following variables in Enviroment Variables:
PATH: C:\OSGeo4W64\bin
GDAL_DATA: C:\OSGeo4W64\share\gdal

You will also need the geoid model SWEN17_RH2000.gtx which can be downloaded here. Put it inside the folder C:\OSGeo4W64\share\proj.

The following GDAL command converts your height model from Sweref99TM + RH2000 to WGS84 with ellipsoid heights:

gdalwarp -ot Float32 -of GTiff -co TFW=YES -tr 2e-4 1e-4 -s_srs “+proj=utm +zone=33 +ellps=GRS80 +towgs84=0,0,0,0,0,0,0 +units=m +no_defs +geoidgrids=C:/OSGeo4W64/share/proj/SWEN17_RH2000.gtx” -t_srs EPSG:4326 -overwrite hojd2m3006_7084896_772090.tif hojd2m4326_7084896_772090_rh2000fix.tif

Where in this case “hojd2m3006_7084896_772090.tif” is the infile height model and “hojd2m4326_7084896_772090_rh2000fix.tif” is the output file.

The output .tif file and the downloaded .tfw file are now ready to be imported onto the DJI controller SD card.

  1. Create a folder called DJI
  2. Create a subfolder called DSM
  3. In DSM create a subfolder for each individual area.
  4. Put the .tfw file and the converted .tif file in this folder.

Inside the application import by clicking the SD card logo and select “DSM file” and import the files .tif file for the areas that you are going to fly.

Now you are ready to use Terrain Awareness Mode as planning method. Your .tif file should now appear in the list for this method of planing.

You might need to change the maximum allowed flying altitude depending on the altitudes from your height model.

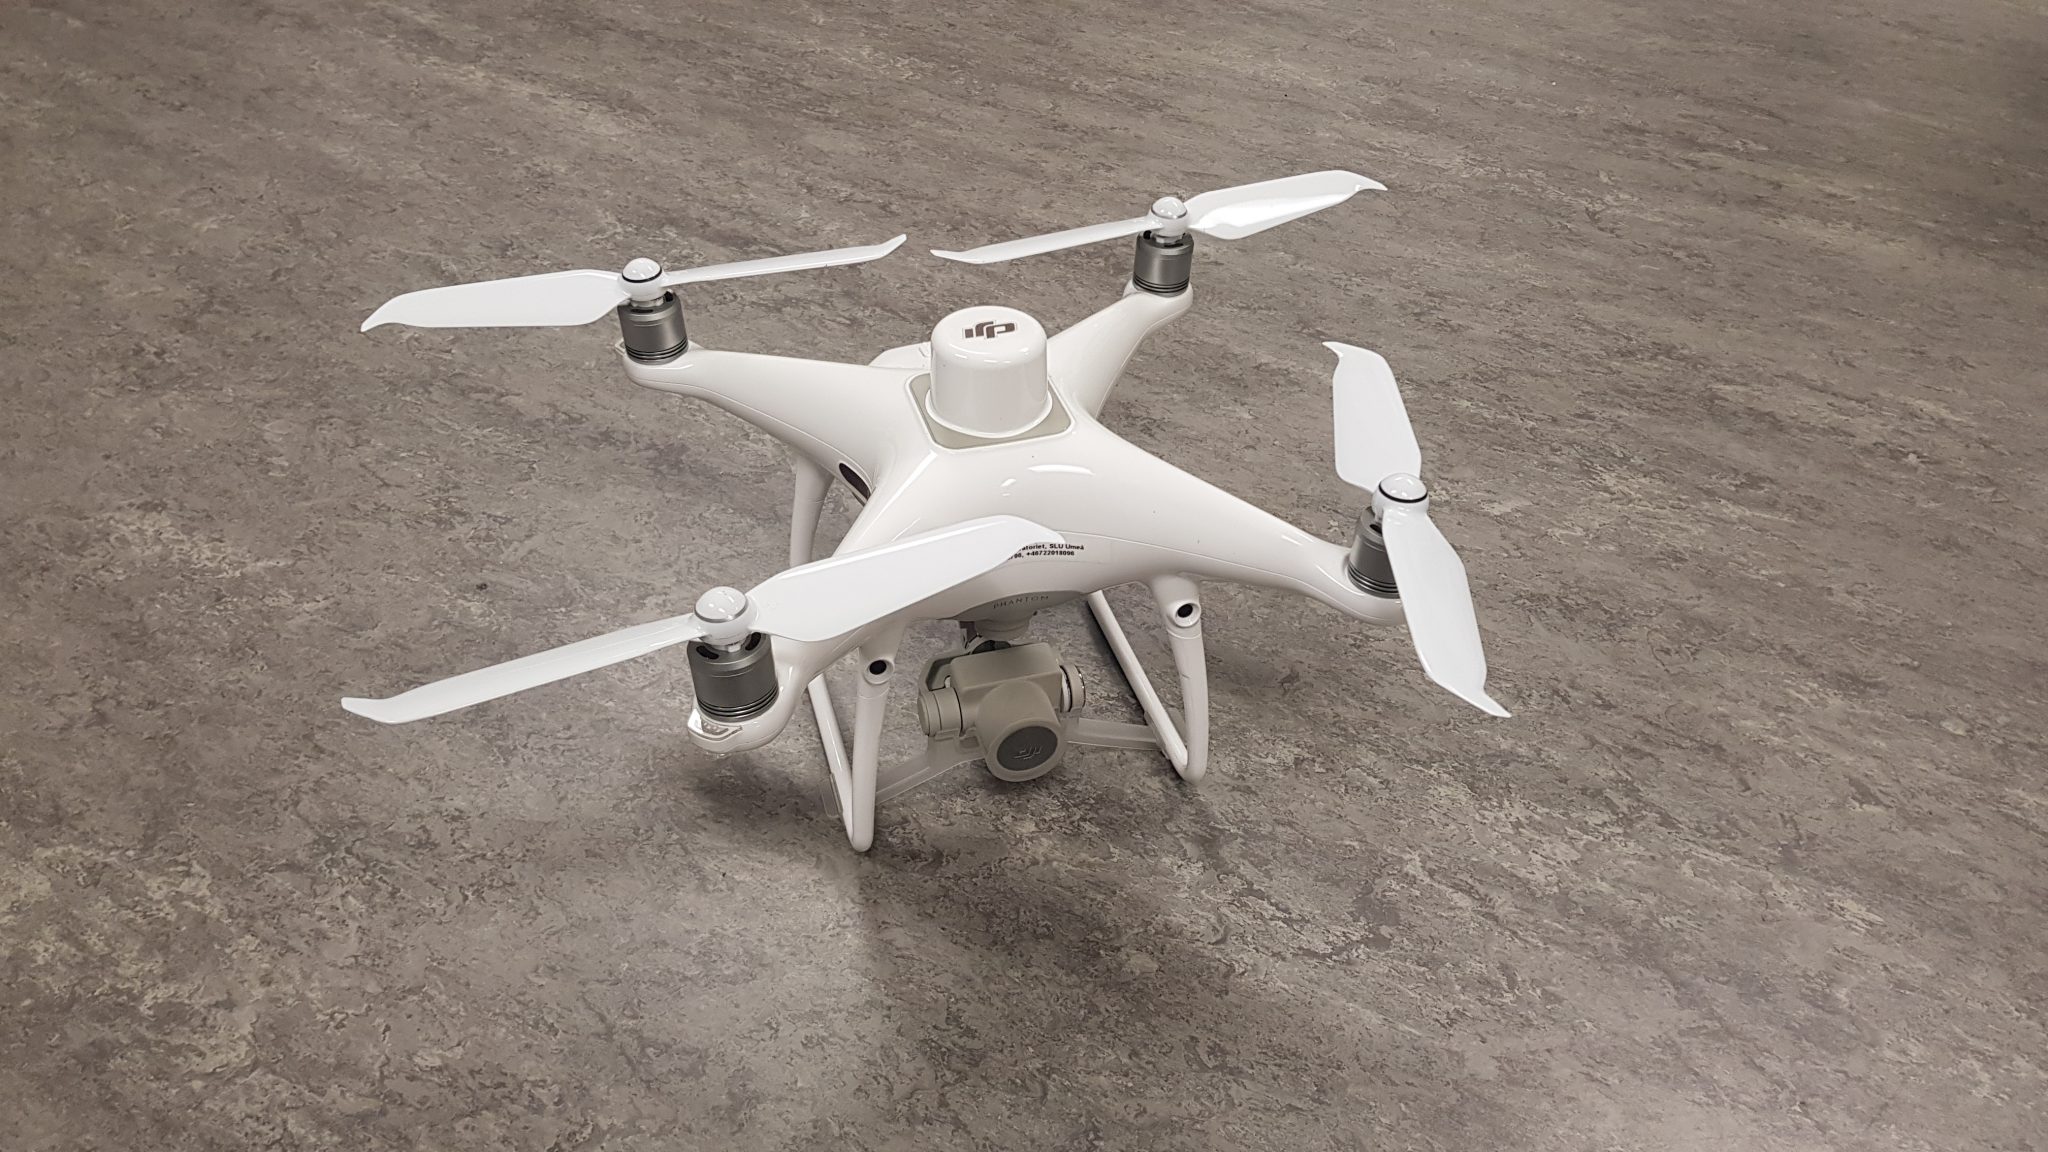
DJI Phantom 4 RTK

A guide for using the Phantom 4 RTK out in the field.

Weather condition

The most important thing when planing to preform a field survey with a drone is the weather.

  1. If it is raining the drone should not go up in the air due to the risk of electronic components being destroyed.
  2. High winds speeds is also a danger for the drone since you can lose control of the drone if it is not able to withstand the winds. Even if you are able to control the drone the other problem is that images can become blurry or the drone does not follow its path perfectly. This will make the end products worse.
  3. You would think now that a sunny weather with a clear sky would be the best weather condition but the sun is actually making the pictures too bright. The sun is reflected on the ground and trees and the camera is not able to adjust to such high brightness. When planing your flight you can choose sunny weather in the settings and the camera will then adjust the exposure for sunny weather. This settings makes the pictures better and less bright but not really enough if the sun is shining very bright.

The ideal weather for a field survey with a drone is thus cloudy weather with low wind speeds. You want the clouds to be covering the whole sky evenly so the weather is the same for the full flight duration. You cannot always wait for the ideal weather so then you just have to pick a day that has the least worse weather given that it is safe for the drone and everyone else involved. The most important criteria is precipitation and wind speed. Wind speeds under 5 m/s with wind gust less than 10 m/s are usually fine.

Flight zones

When planing your flight you also need to check if you will be flying inside a flight zone where other aircraft regularly fly. These zones are often located around airports, helicopter pads (Some hospitals) or military bases. To find where these zones are located visit https://daim.lfv.se/echarts/dronechart/. If you need to fly inside one of these zones you first have to contact the local air traffic control tower to ask for flight permission. Visit the local airports website to see when there are no commercial planes arriving or departing. This does not ensure that you will get permission to fly but it increases you change. Try not to plan flights longer than 20 minutes since you often will not get more time than that up in the air. Ask the control tower how long you have in the air and always have your phone ready if they need you to land. When finished with you flight call the control tower and tell them that you have landed.

If you need to interrupt mid flight and land just hold the button return to home and land the drone. It is not ideal for the data gathering to interrupt the flight but is usually fine. The first picture when resuming the flight tend to be taken from a different angle but it does not really affect the end product. What might affect the end product is if the weather conditions change while you wait for flight permission.

Safety during flights

When performing a flight you always have to be able to see the drone even if it flies by itself. This is both because you will know where the drone is if it starts to drift or would crash and to see that you do not crash into another aircraft. If you would lose track of the drone look at your application to see where it is located and listen to the sounds that is produced from the rotors. Also keep you ears open to listen if any incoming aircraft is appearing. If a aircraft would appear fly away from that aircraft by lowering you altitude and fly away from its flying path. When you are at a safer distance form the aircraft land your drone until you are sure that it is gone. Be sure to know every necessary command before you start, such as being able to turn of the motors, manually steer the drone and the return to home command.

Ground control points

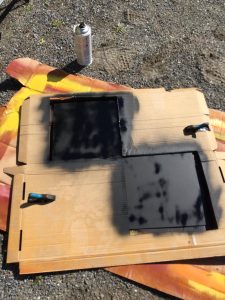
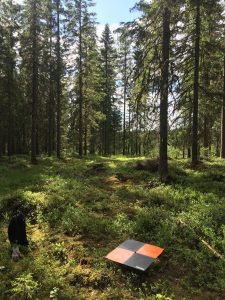
Even tough the P4RTK has a very precise GPS, ground control points (GCP) will further improve the end products. Place the GCPs along the perimeter and corners of your flight path where they are visible for the drone from several camera angles. Record the positions of the center of the GCPs with a high precision GNSS and make sure that the GCPs will not move around during the flight. Try to remember where you put them since it can be very easy to lose them out in the forest.

Permanent ground control points in Innertavle

Placing ground control points (GCP) when performing flights with drones can be a very time consuming task which is why we now have placed permanent GCPs around the property at Innertavle. There is a total of 11 GCPs placed around the boarder of the property. The GCPs helps in the post process by being able to reference to the location of these points when matching up the rest of the points from the data.