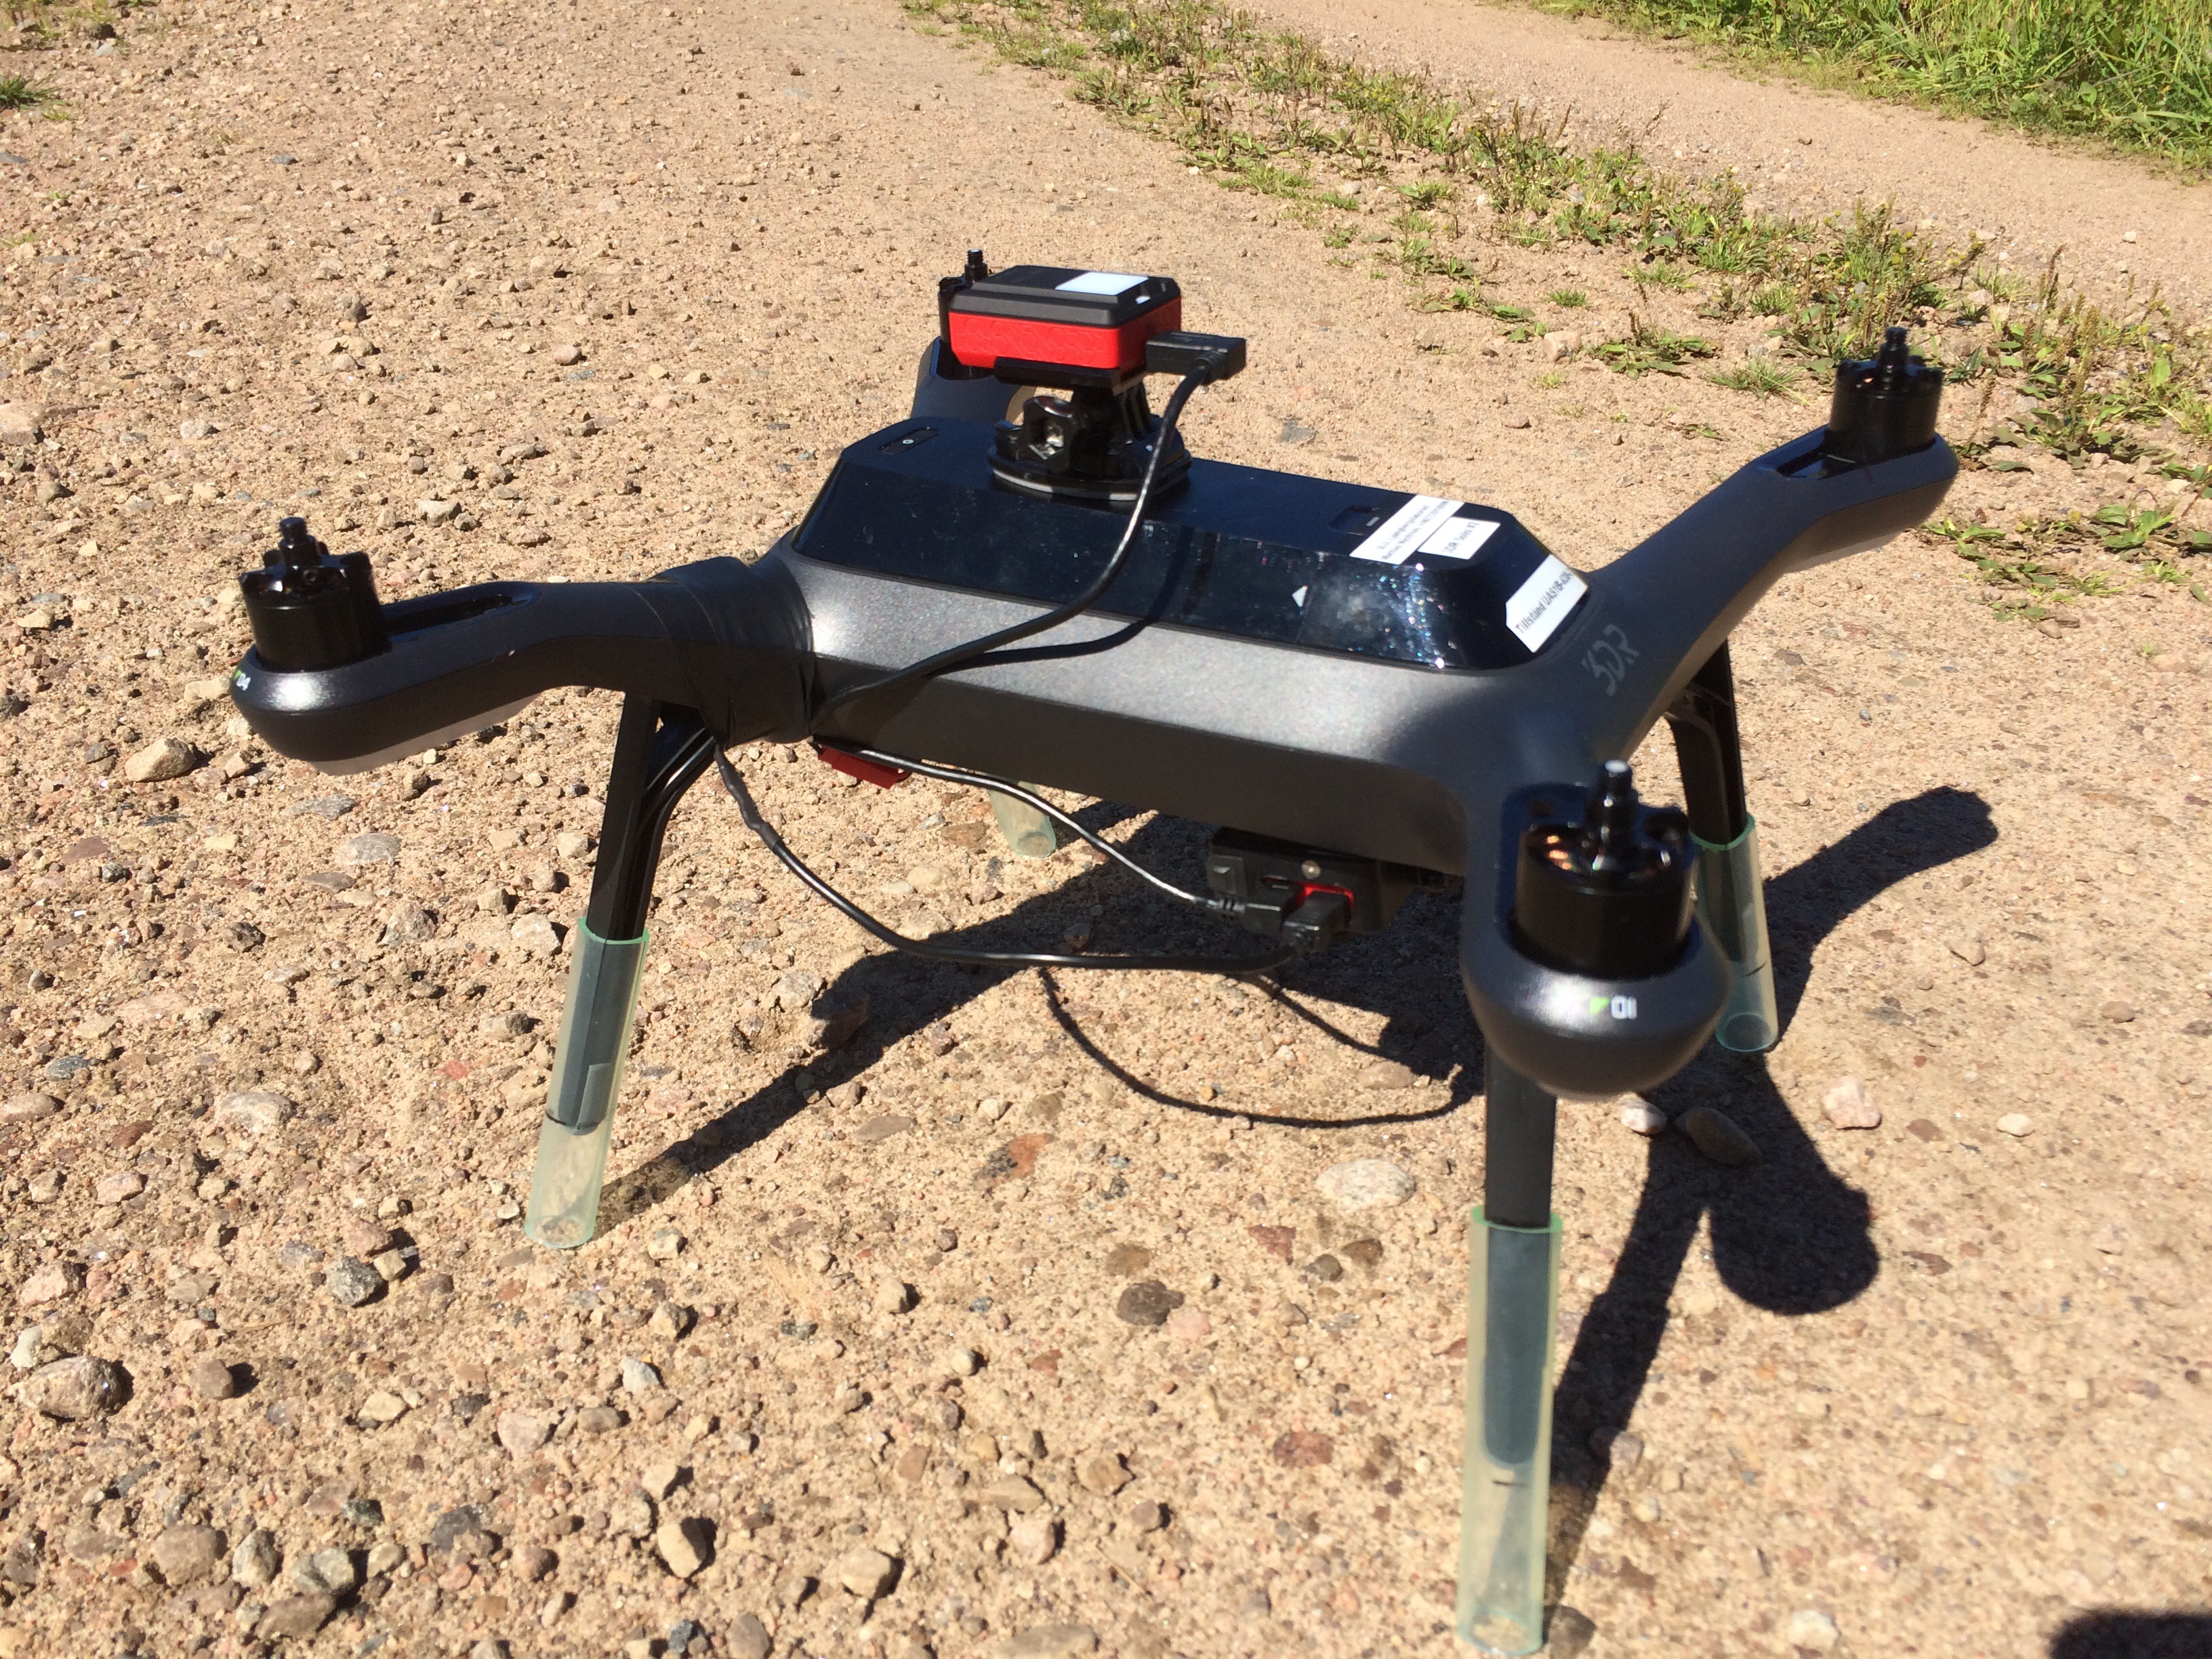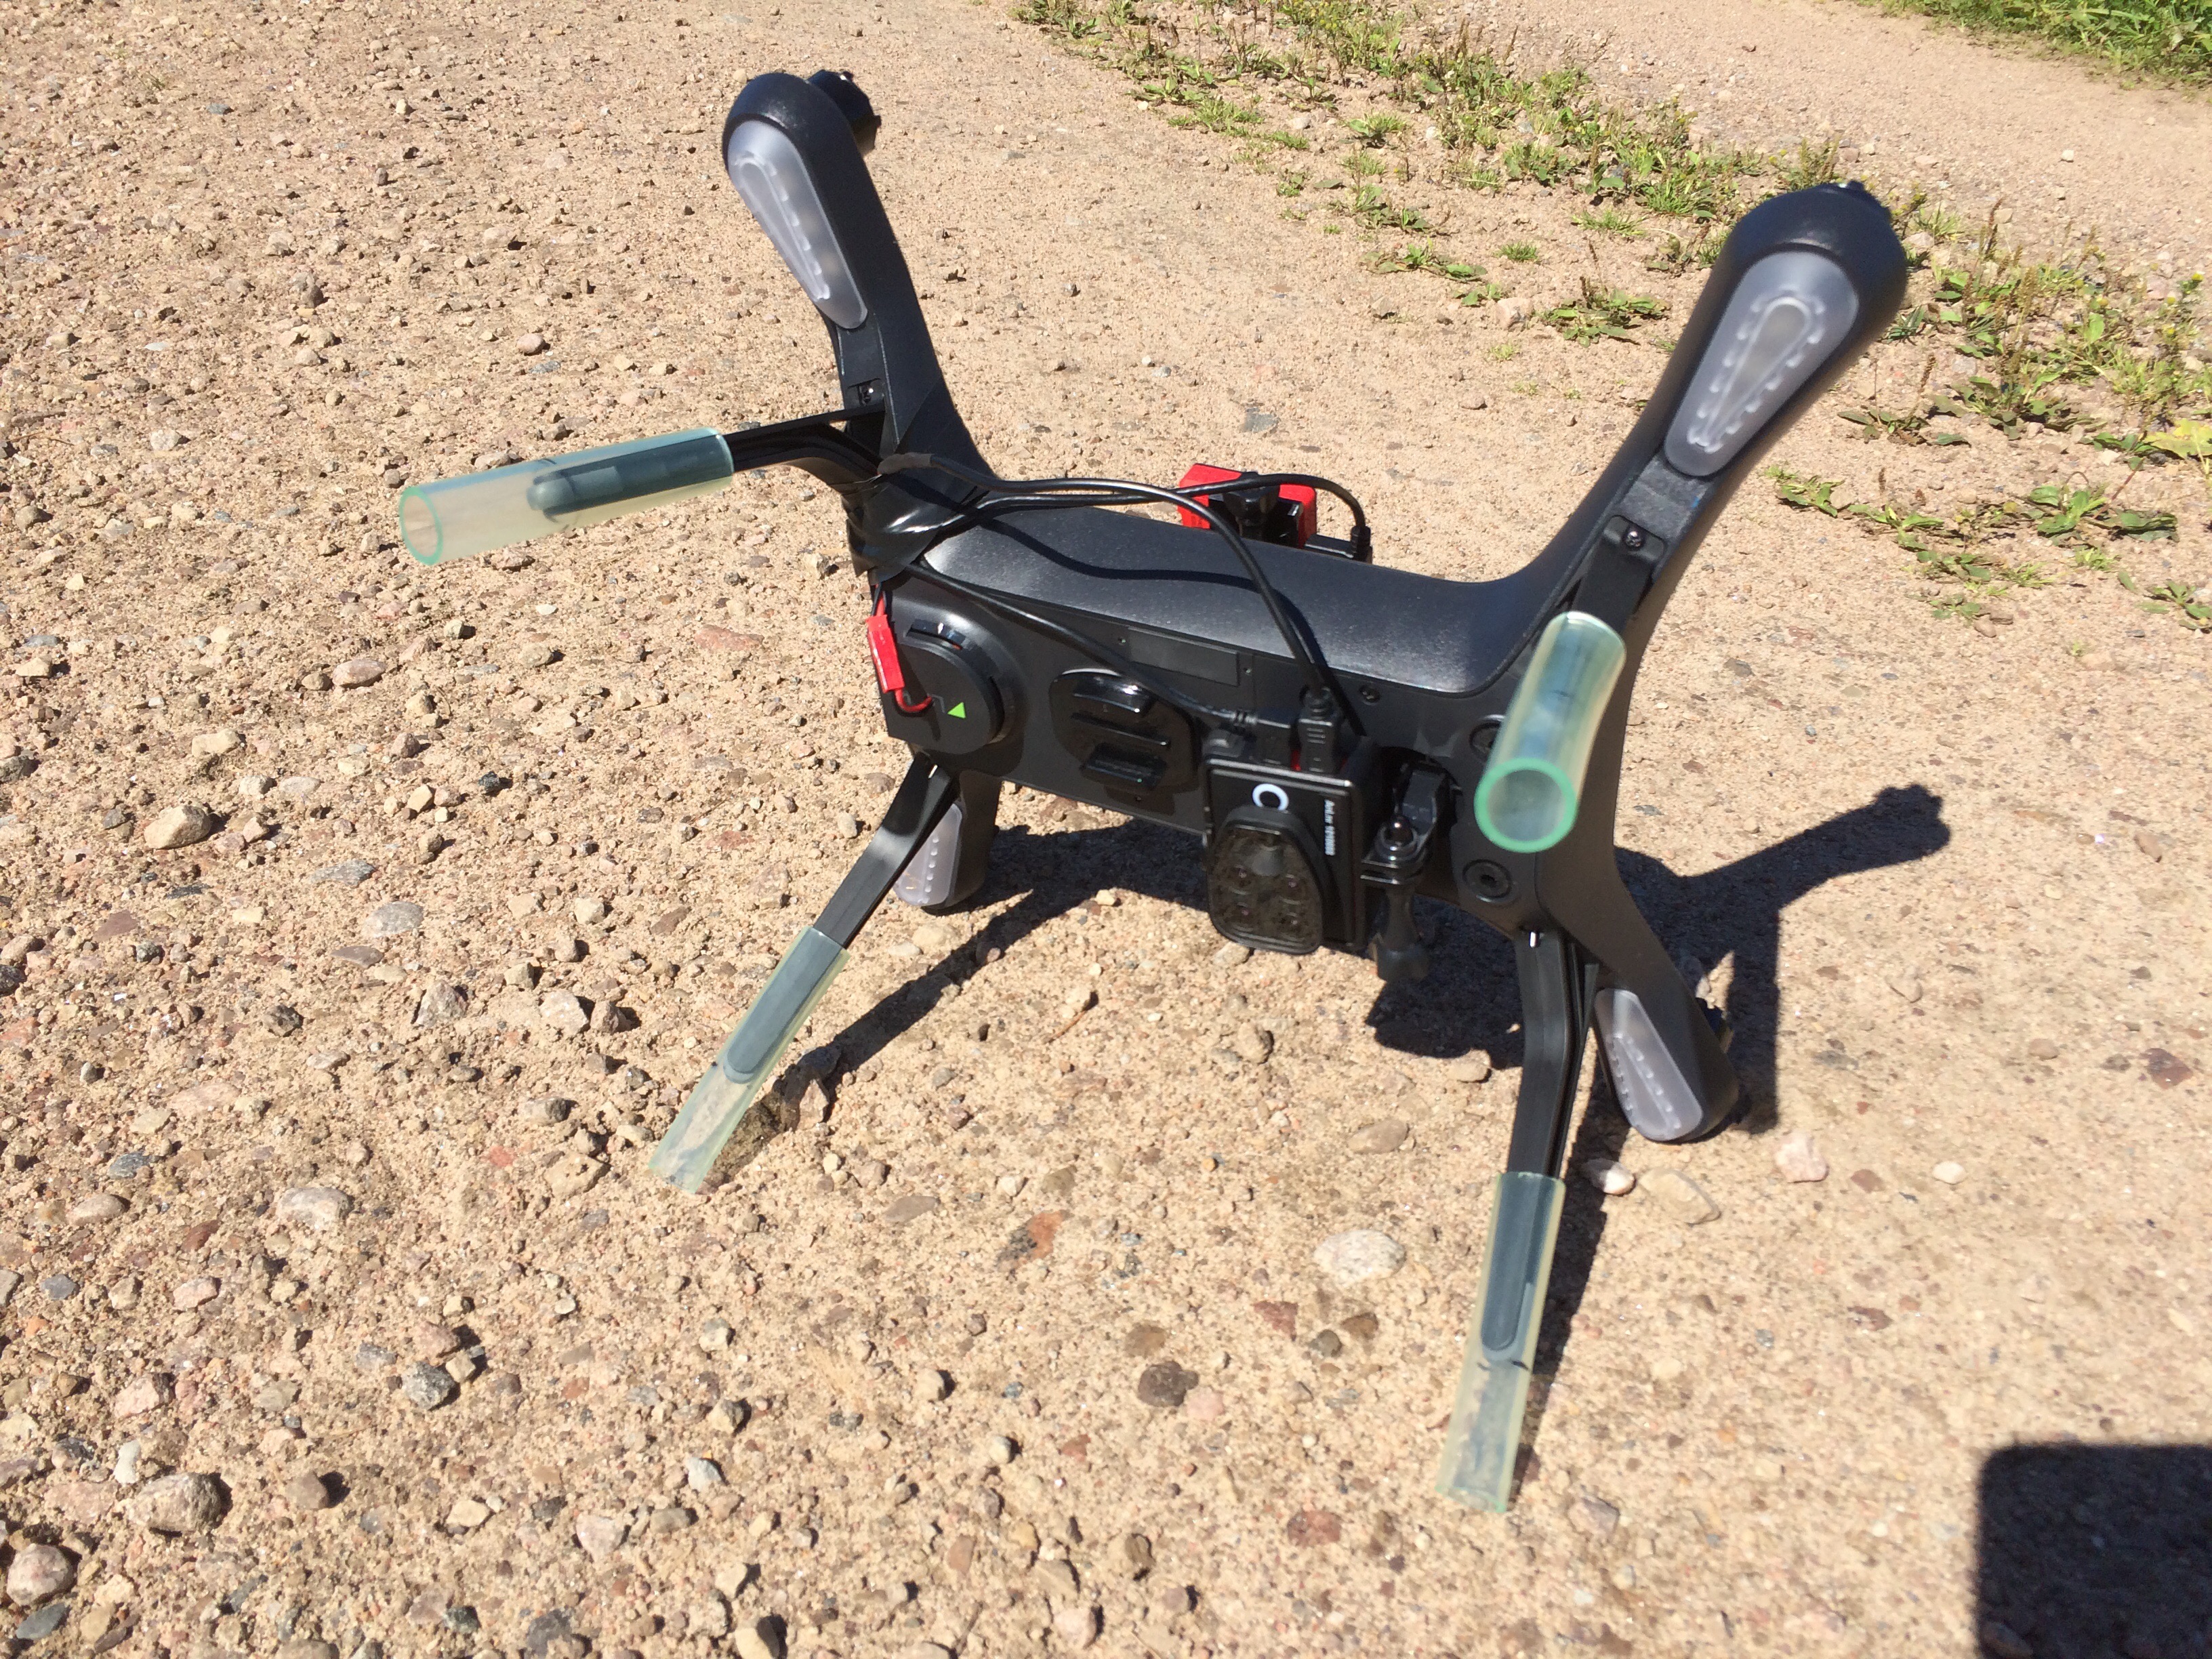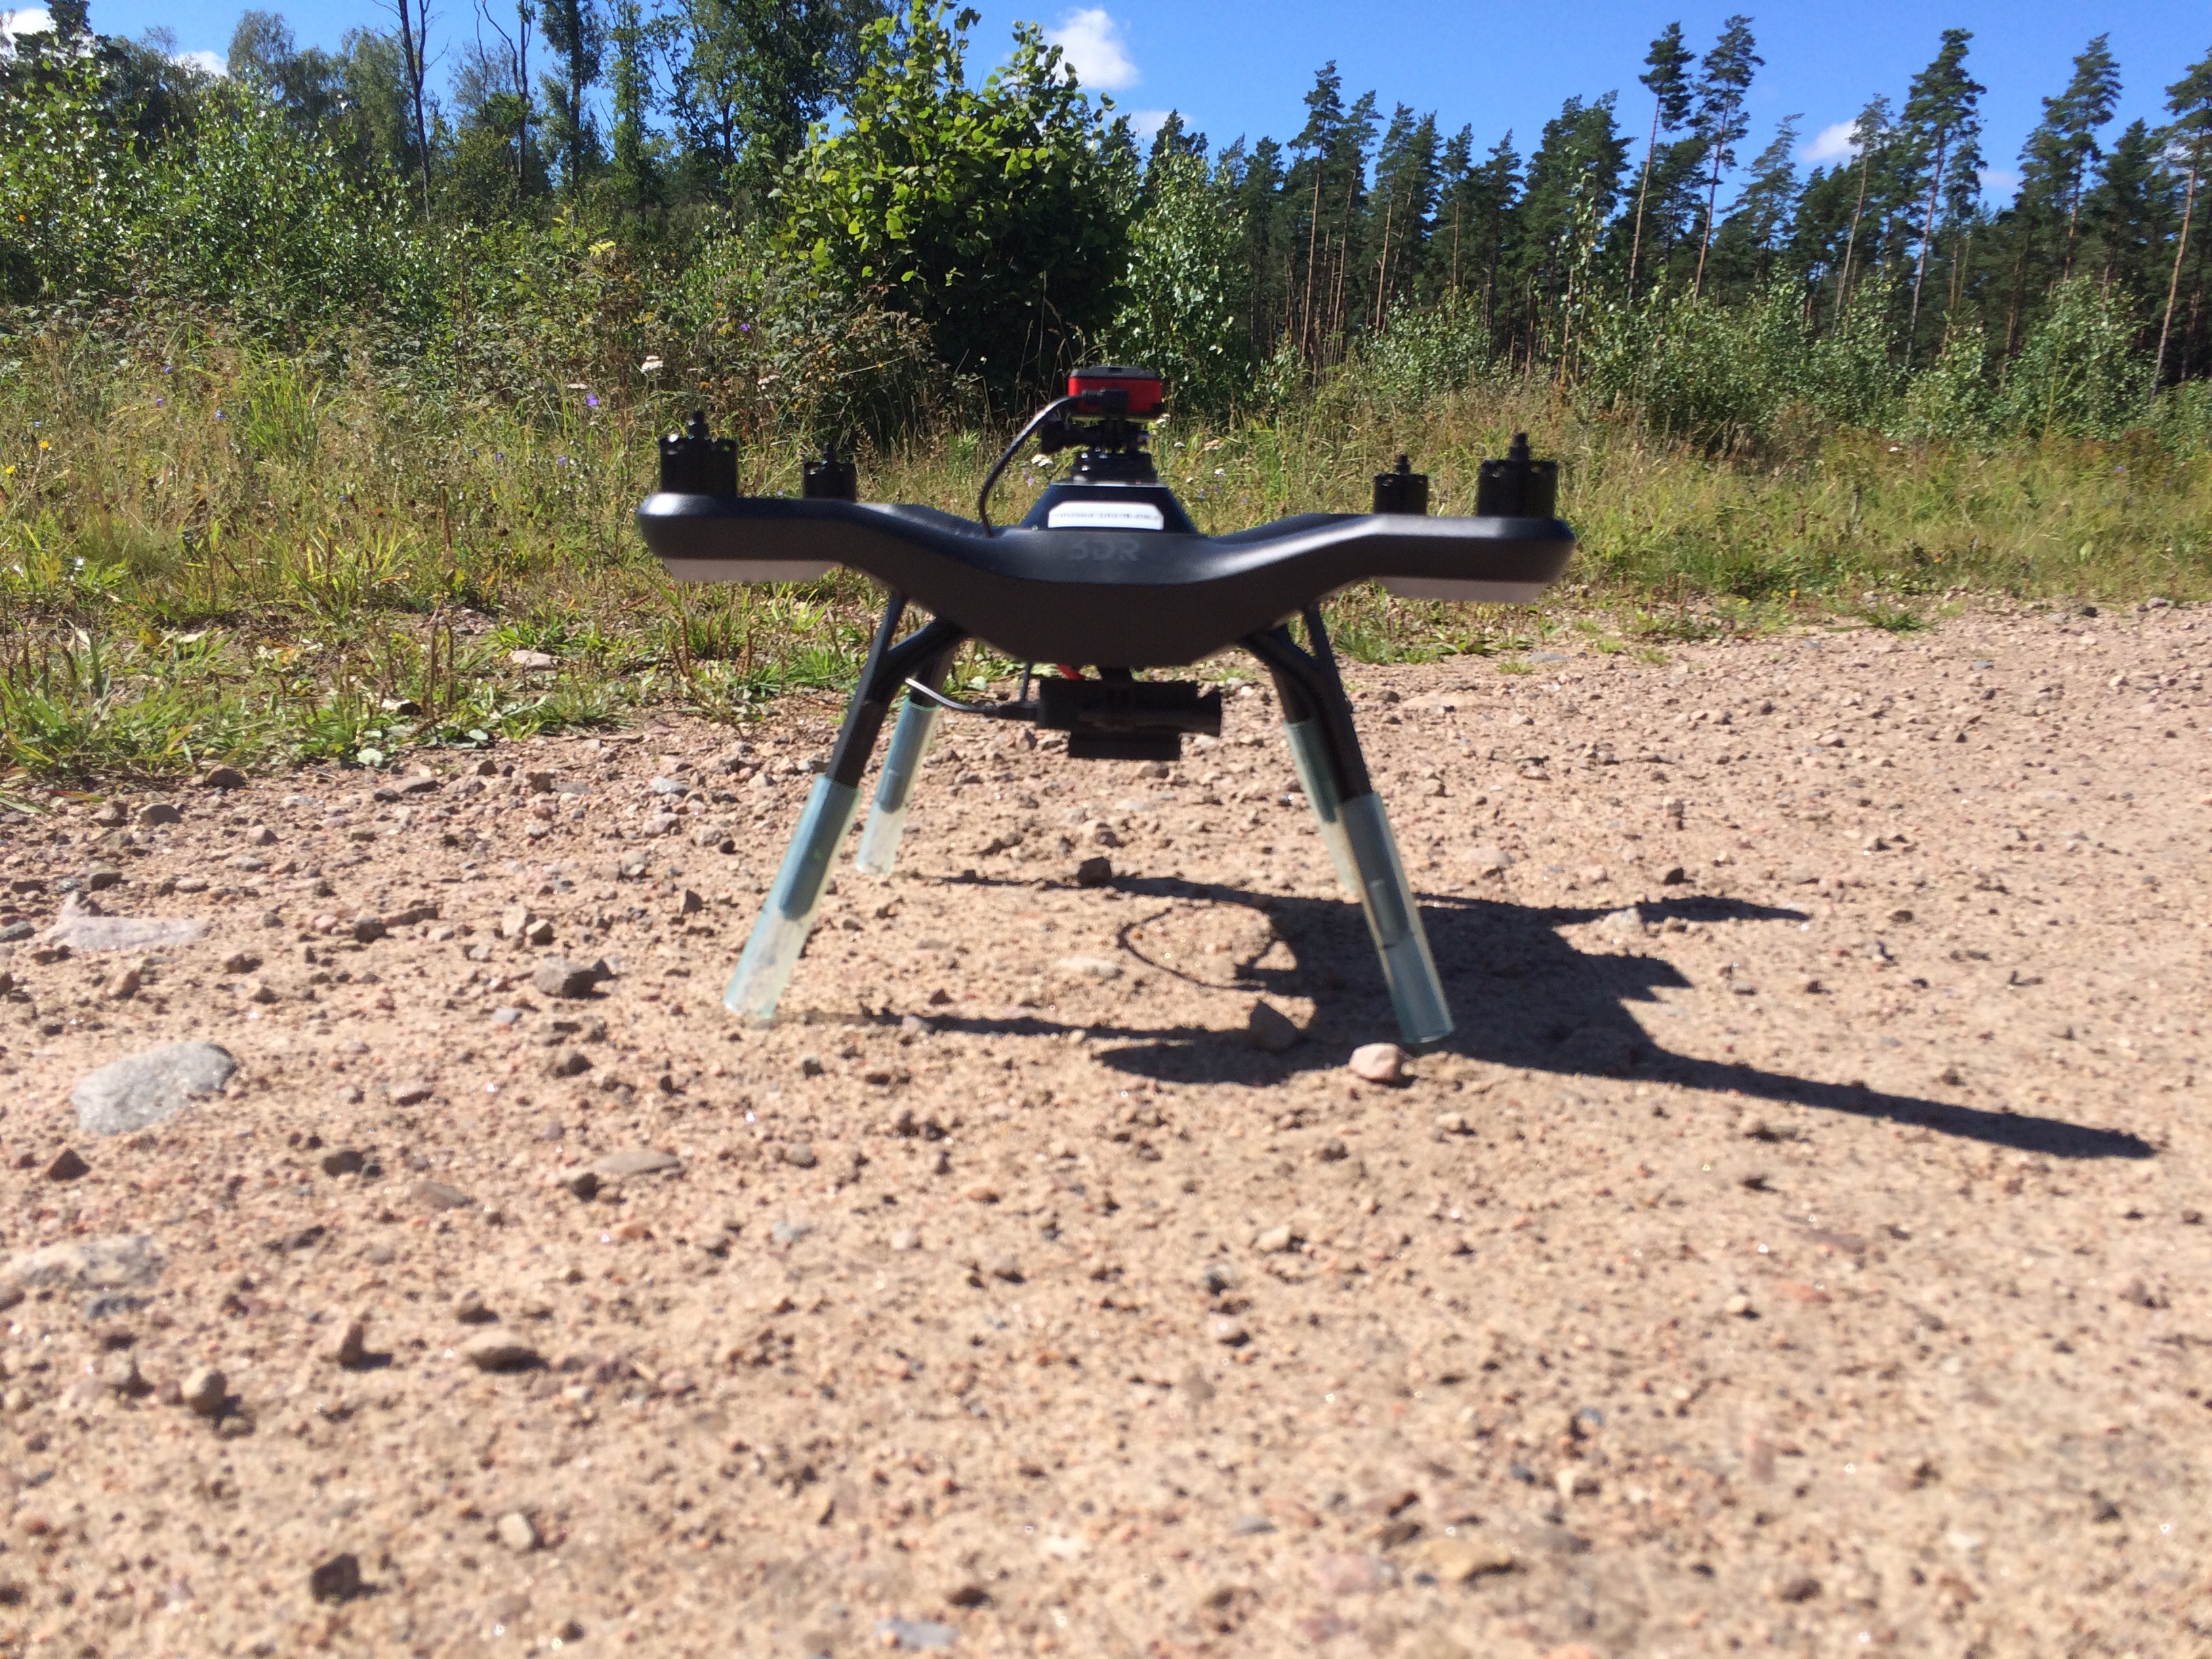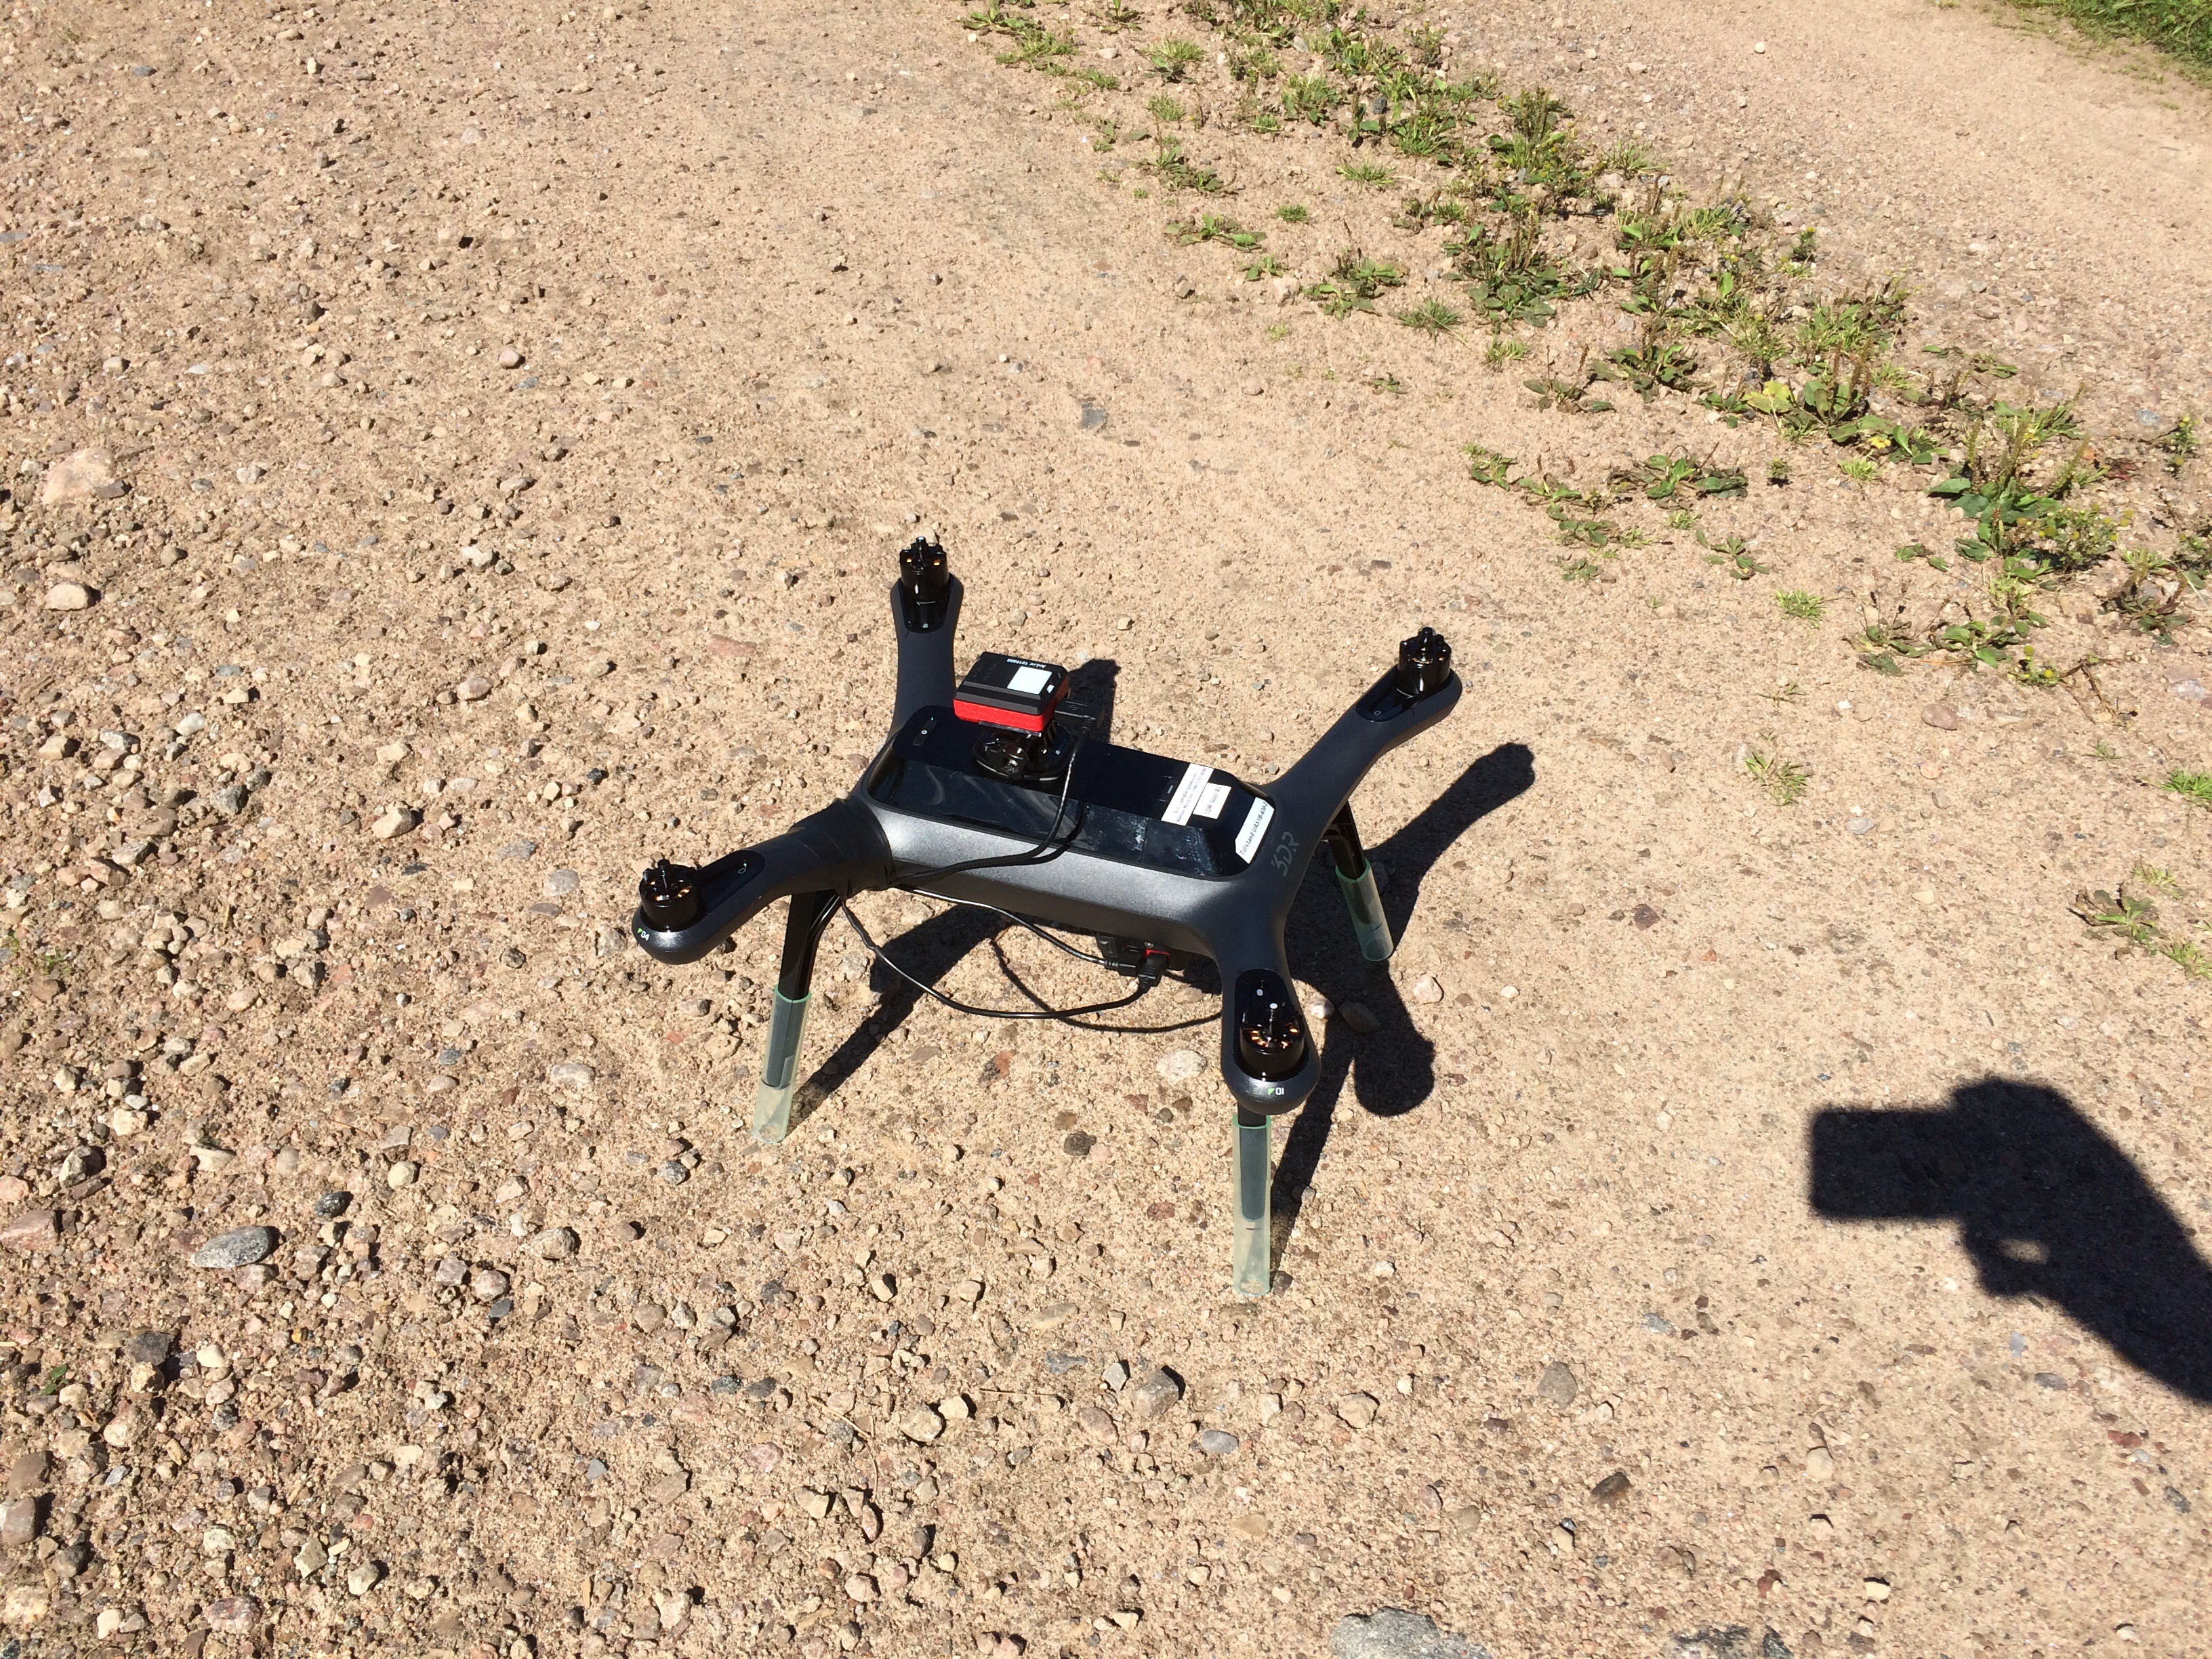
Here is one example of a simple mount of the multi spectral camera Sequoia from Parrot. The drone is a 3DR Solo. We had to enlarge the hole to fit the connectors in the camera holder. The Sequoia is also mounted 180 deg compared to the GoPro. The sunshine sensor is mounted on top of the battery to not interfer with the GPS in the front of the Solo. We used GoPro brackets and one of the included brackets from Parrot to mount it. The drawback is that you need to fit a GoPro bracket on all your batteries…
The 5V to power the Sequoia we take from a BEC soldered to one of the motors power connectors on the main board.
When we use the Sequoia for mapping, we use time interval for triggering the camera. To know which time interval to use for the mapping mission, check the estimated time between the photos in Mission Planner when you do the flight plan.
When starting the mission, we first connect over the wifi. Set the time interval to for example 2 seconds. Press the green button on the screen (in the sketch of the Sequoia). The triggering now starts. Before we go fly, we inactivate the WiFi under settings. You can now go fly. When we have landed, we turn off the camera by holding the camera button for 5 seconds.